Prairie Point Christmas Tree Quilt – Tutorial: A Festive and Fun Design
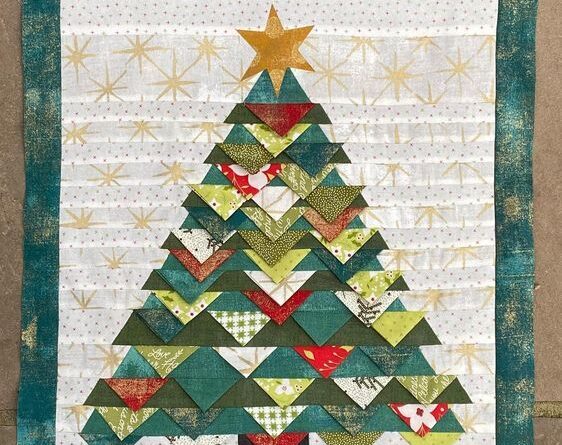
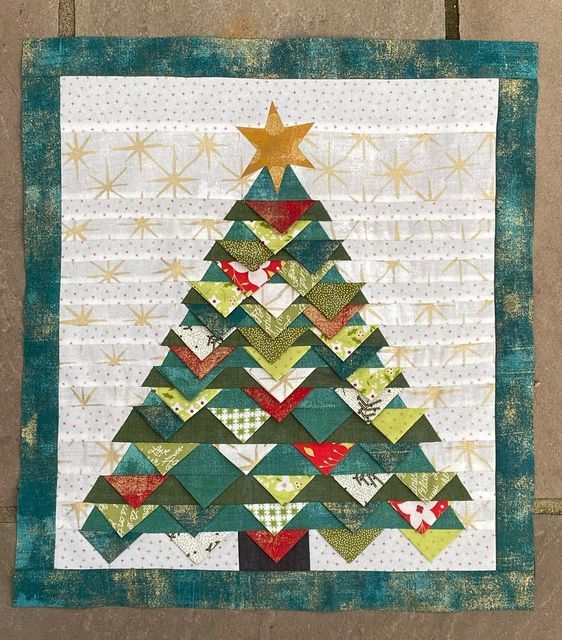
The Prairie Point Christmas Tree Quilt is a charming project that brings the magic of the holiday season into your home.
Featuring the classic prairie point technique, this quilt stands out with its dimensional design, resembling a layered Christmas tree adorned with intricate details.
Whether you’re an experienced quilter seeking a creative challenge or someone looking to craft something special for the holidays, this project combines beauty, functionality, and festive cheer for your seasonal décor.
Why Choose This Project?
This tutorial allows you to create a stunning, versatile handcrafted piece. Beyond decorating your home, the quilt can serve as a wall hanging, table topper, or cozy throw. The design is highly customizable, so you can tailor the colors and size to match your holiday style perfectly.
Materials Needed
To ensure your project is a success, gather the following supplies:
Green fabric (for the tree): ¼ yard of various shades of green.
- Background fabric: 1 yard of white, cream, or snowflake-themed fabric.
- Tree trunk fabric: ¼ yard of brown fabric.
- Binding fabric: ⅓ yard in a coordinating color, such as red, gold, or festive prints.
- Batting: 36 x 44 inches.
- Sewing machine and thread: Match the thread to your fabric or use a contrasting color for decorative effects.
- Rotary cutter and mat: For precise cuts.
Step-by-Step Instructions
1. Cut the Prairie Points
- Cut green fabric squares measuring 3 x 3 inches.
- Fold each square diagonally into a triangle and press with an iron to create sharp folds.
- Prepare at least 30 prairie points to construct the tree shape.
2. Create the Tree Shape
- Cut a triangle from the background fabric to serve as the tree base.
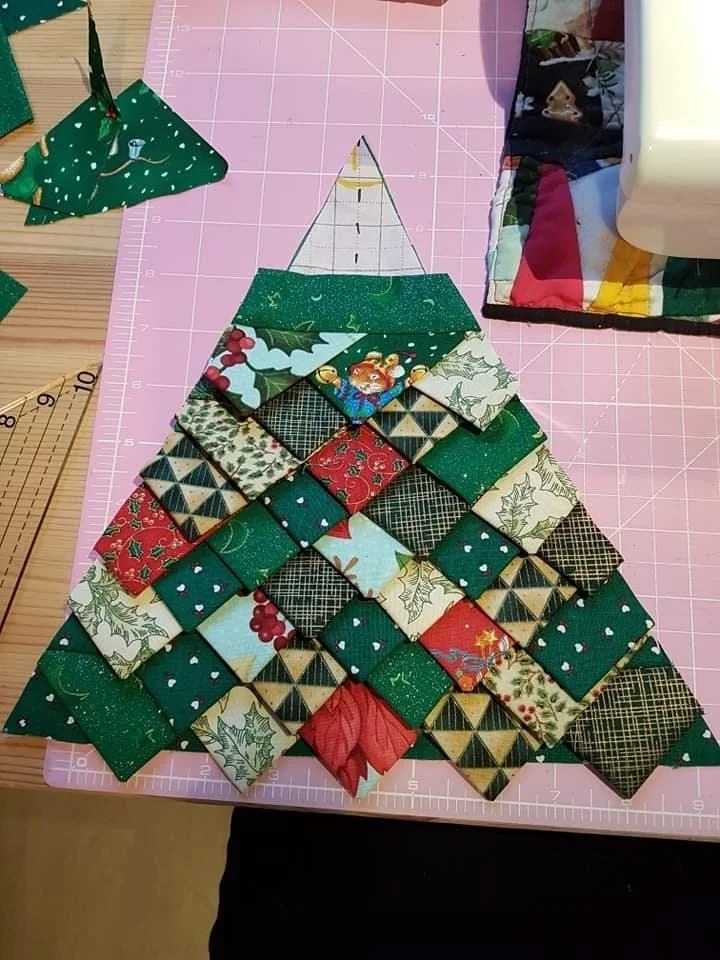
- Starting at the bottom, sew rows of prairie points along the edges of the triangle, ensuring the points face outward, mimicking tree branches.
- Gradually decrease the number of prairie points in each row as you work upward to form a triangular tree shape.
3. Add the Tree Trunk
- Cut a rectangle measuring 4.5 x 6.5 inches from the brown fabric.
- Attach the tree trunk to the bottom of the tree shape, ensuring it is centered.
4. Attach the Tree to the Background
- Cut the background fabric into a 20 x 24-inch rectangle.
- Position the tree design on the background fabric and sew along the edges to secure it.
5. Layer and Quilt
- Assemble the layers with the quilt top, batting, and backing fabric. Secure the layers with basting spray or pins.
- Quilt around the prairie points and tree design. Use simple straight stitches or get creative with decorative stitching around the tree.
6. Add the Binding
- Trim the quilt edges and attach the binding fabric around the borders for a polished finish.
A Touch of Holiday Magic
The Prairie Point Christmas Tree Quilt combines traditional quilting techniques with festive creativity in a single project. Its dimensional design and thoughtful details will make it the centerpiece of your holiday décor for years to come.
Dive into this delightful project and transform your space into a cozy, festive haven!

